Contents
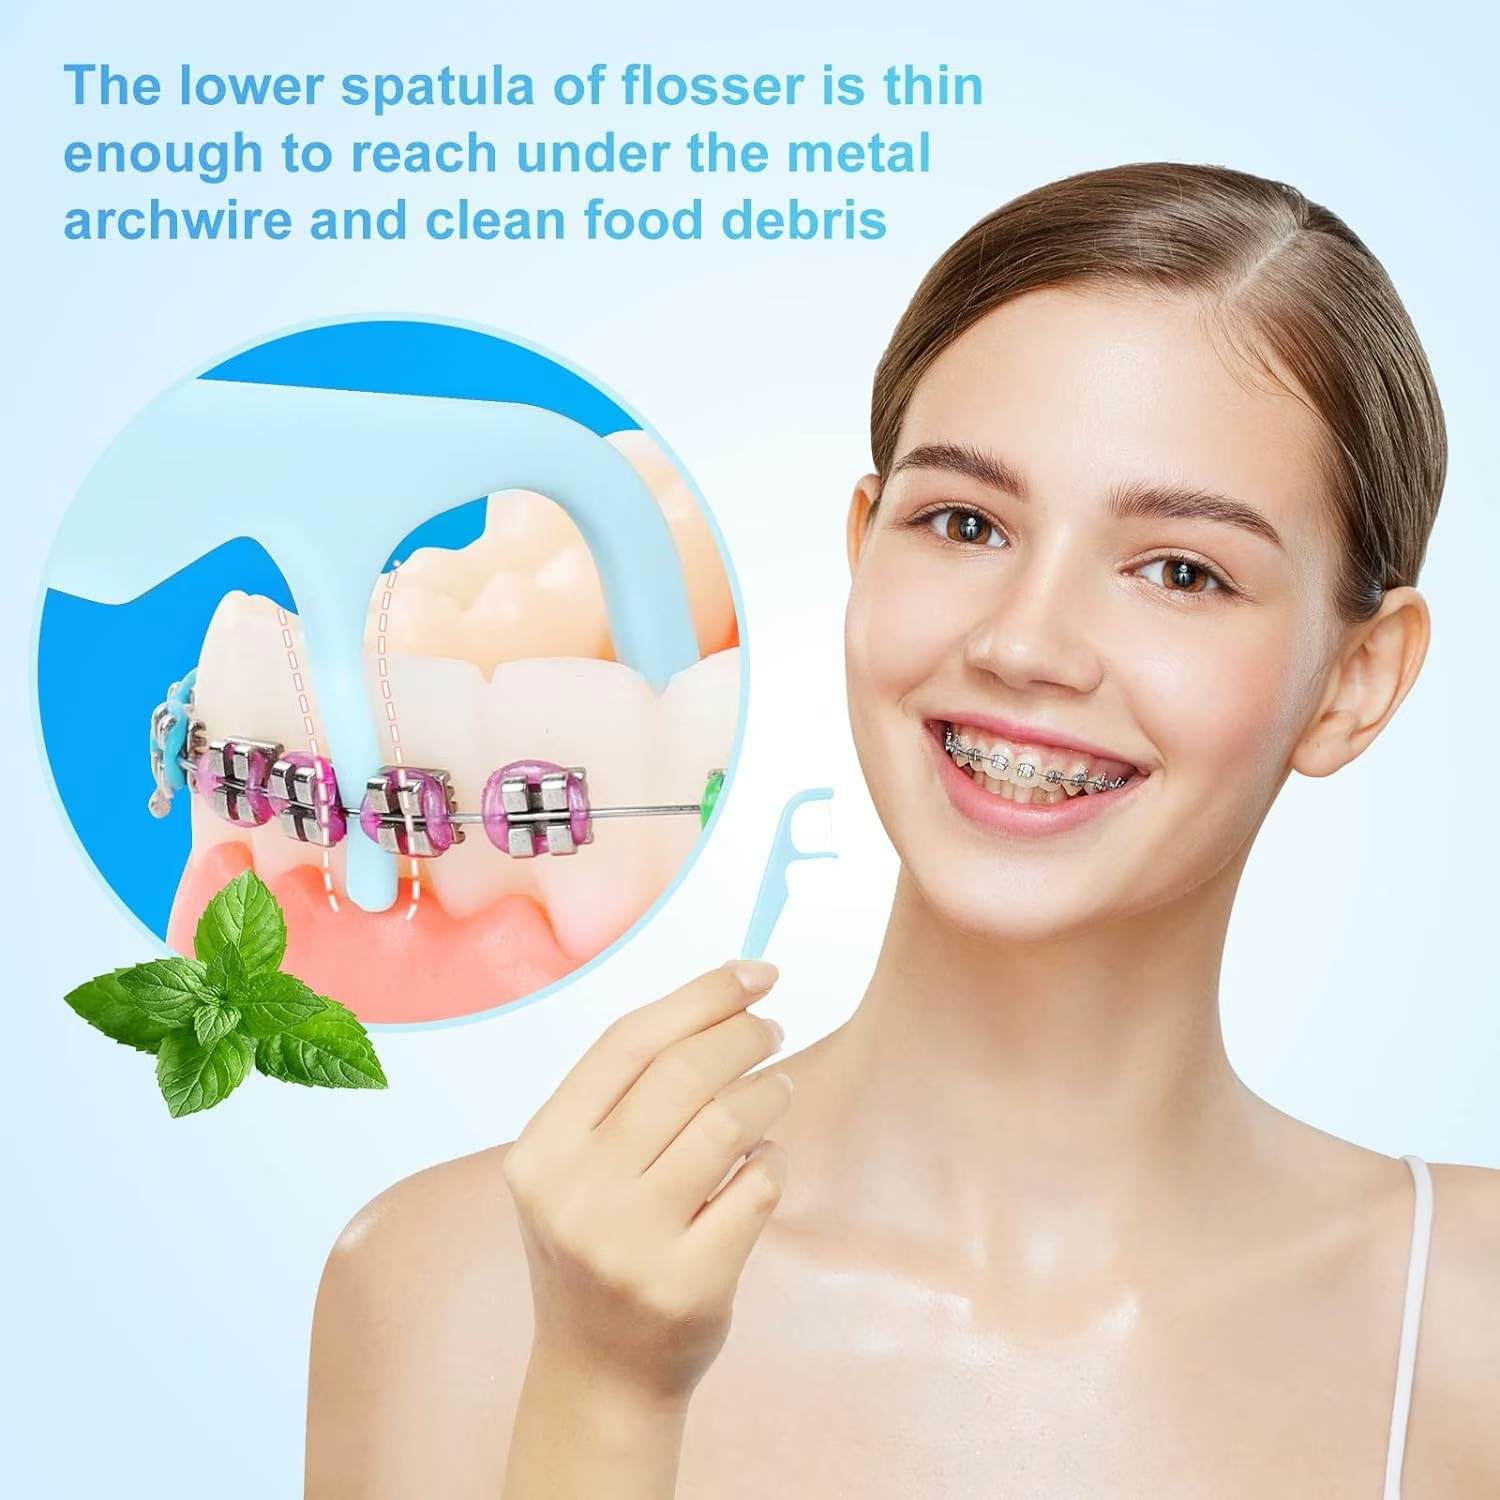
To use floss picks with braces, choose a model designed for fixed braces, guide its slim arm into the space behind the wire without pushing, and ease the floss between the teeth. Clean against one tooth, then the other. If the arm rubs the wire or the floss catches, stop and try a different tool for that gap. A pick that works at the front of your mouth can feel awkward at the back.
If you are learning how to use floss picks with braces, practice first on one gap you can see clearly. Once you recognize what an easy fit feels like, you can work around the rest of your mouth without guessing how much pressure to use.
If you’re sourcing picks for a clinic or retail range, the thin arm shown in the directions is one detail worth checking on the actual product. Ask Richsource for a model close-up so you can compare the head with the tool you plan to demonstrate.
Get a clear view of one gap
Stand close to a mirror under a light that reaches your mouth. Wash your hands and set out a fresh pick. Find a gap between two teeth near the front or side where you can see the brackets and the horizontal wire that joins them. Tilt your head slightly until you can see the space on the gum side of the wire. That is the opening a slim orthodontic arm may be able to enter.
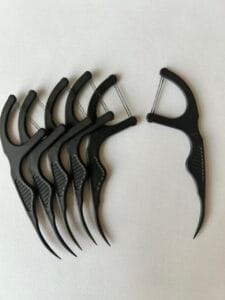
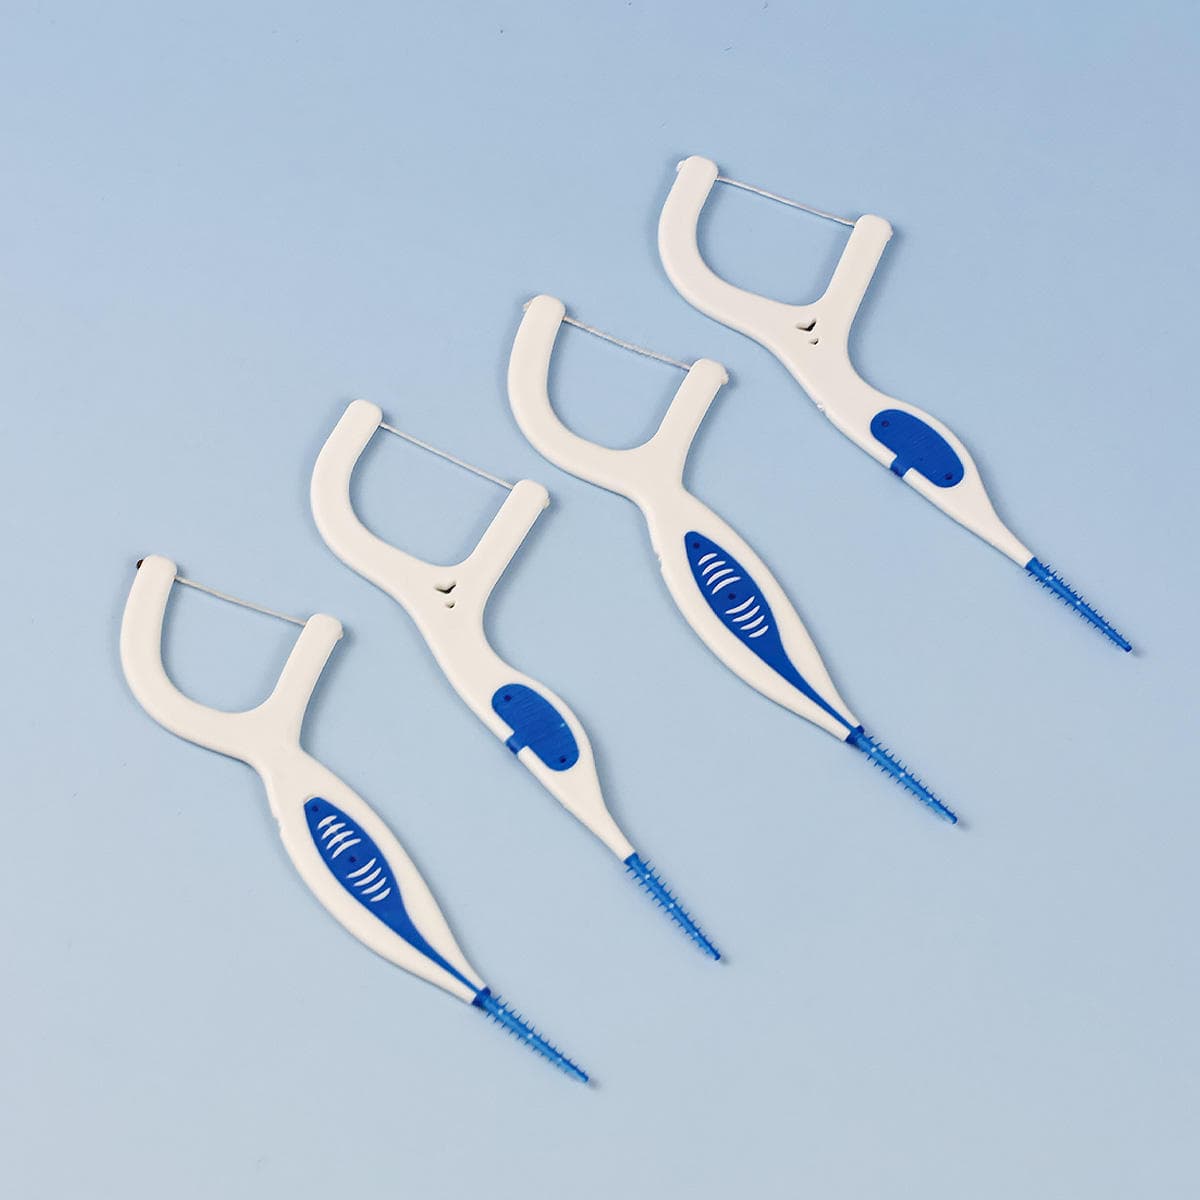
Look at the pick in your hand before bringing it to your mouth. The small fork holds a short length of floss. On many braces-specific designs one side of the fork is slimmer than the other. Find that side and check the directions for your model. Some have a pointed end on the back of the handle. Keep that end clear of your mouth during this step.
1. Bring the slim arm behind the wire
Guide the slimmer arm through the opening between the wire and the teeth, following the direction shown on the pack. The other arm stays on the cheek side so the floss sits across the gap you want to clean. Bringing the handle closer to the gap can make it easier to control. Keep the movement small enough that you can watch what the arm is doing in the mirror.
An easy fit feels like the arm passes through open space. If the pick wedges, flexes against the wire, or needs a push to get halfway in, withdraw it along the path it came in. A bracket hook or the position of a tooth sometimes leaves too little room. You can use a threader and string floss in that spot if your orthodontic team has shown you a clear route. If you are unsure about a hook or appliance attachment, ask the team to demonstrate on that tooth.
2. Ease the floss through the contact
Once the arm is in position, line up the floss with the point where the teeth meet. Let the strand slide past that point with a small, controlled movement. Keep your hand steady as the floss comes through so it stays clear of the gum. Biting down on the pick takes away that control and can drive the strand lower than you intended.
When a gap feels tight, pause and look at where the resistance starts. If the plastic arm is stuck before the thread reaches the gap, you have an access problem around the wire. If the arm moves freely and the strand stops at the point where the teeth touch, the strand or angle may be the issue. Separating those two sensations helps when you describe the problem at your next appointment.
3. Clean both tooth surfaces
Once the strand is between the teeth, angle it gently against the side of one tooth. Slide it along that surface with short up-and-down strokes. Then shift the pressure toward the neighboring tooth and clean its side too. The strand should stay against the tooth as you approach the gumline. Stop if you feel sharp pain or need to press the floss into the gum.
A short strand held in a frame may not bend around the tooth as easily as loose floss. The American Dental Association’s flossing guide shows how string floss follows the side of the tooth in a C shape. The same cleaning goal helps you judge a pick. If the frame gives you too little room to reach either side, ask whether threaded floss would give you better control there.
4. Withdraw the pick and move around the mouth
Bring the strand gently back through the contact, then guide the slim arm out the same way it entered. If the floss snags or you feel the appliance move, stop pulling. Back off the tension if you can and check for a hook or a frayed strand. Contact your orthodontic office if the pick or floss remains trapped or if a bracket or wire feels loose afterward.
Use a consistent route so you remember where you have been. For example, start at the upper right, work across the upper teeth, then go from the lower left back to the lower right. If you skip a difficult gap to come back with a threader, make a quick note of its position. Check behind the last tooth on each side too and ask your dental team to show you a comfortable way to clean that surface.
Adjust for the back teeth
The back teeth can be harder to see because your cheek narrows the working space and the handle may bump into the opposite teeth. Try relaxing your jaw and changing the angle of the mirror before changing the angle of the pick. A comfortable opening may leave your cheek softer and give you more room to steady the handle than opening your mouth as wide as possible.
Work from a tooth you can reach toward the harder one, with the floss out of the gap while you reposition. If the handle hits a tooth before the arm reaches the wire, stop and switch tools. A floss threader brings in a flexible strand and leaves you free to place your fingers differently. An interdental brush may be useful on reachable surfaces around a back bracket if your dental team recommends a size. The Illinois Department of Public Health’s orthodontic care guide describes where these tools fit into daily care.
Some people find it easier to work on the right side with the left hand because the handle then points toward the center of the mouth. Others steady the hand by resting a finger lightly against the outside of the chin. Practice the motion with the pick away from the wire. If changing hands makes your movements jerky, switch back and reposition your head instead. The idea is to find a position you can hold still while guiding the last few millimeters of the pick.
Check what you can see in a mirror
Watch three things during your practice gap. First, the arm travels through the space behind the wire without bending. Second, the strand can change its angle enough to move against each tooth in turn. Third, the pick leaves by the same route without snagging. If you can see the first movement and lose sight of the strand once it reaches your gumline, practice in a better-lit position or ask for a demonstration before trying a deeper reach.
A small mirror can help you see where the cheek is blocking your view. Set a hand mirror down before you start a gap if holding it leaves the pick hand unsteady. If the same area is hard to see or reach every time, the Richsource guide to braces cleaning tools explains the different jobs floss and brushes do. Ask your provider which method gives you the clearest working angle.
Decide when to put the pick down
| What happens | What to try next |
|---|---|
| The arm passes freely and the strand moves along both tooth surfaces | Finish the gap and follow the same motion on the next one. |
| The arm catches the wire as you line up the strand | Withdraw it and use a tool whose path your orthodontic team has confirmed. |
| The plastic fits, but you need a sudden push to get the strand through | Stop and ask your dental team to demonstrate a way through that contact. |
| You can get the strand in, but the frame prevents a controlled stroke | Try flexible floss where you can guide it freely with your fingers. |
| You find a wire out of position, a loose bracket, or floss that stays caught | Contact your orthodontic office for instructions. |
After a wire adjustment, your usual route may feel different. Check the fit again in the mirror, even if you have used that design for months. Take note of which gap gives you trouble and whether the problem occurs on the way in, while you clean, or on the way out. At the appointment you can point to that location and ask for a demonstration instead of trying to recreate the problem from memory.
What to practice the next time you floss
The next day, begin with the same tooth and compare how the arm slides in and how steadily you can clean both sides. Repeat that motion on a few teeth you can see well. Move to the side and back teeth after you have a reliable reference for an easy fit. The order helps you recognize a genuine obstruction before you start adjusting the tool or using more pressure.
Set a spare pick and threader next to your toothbrush if those are the tools that worked for you. Change the pick according to the package directions and discard a single-use pick after the session. Set aside a damaged pick if the frame bends or the strand loosens mid-use. If the same tooth repeatedly makes strands fray, mention it to your dental team and show them where it happens.
Ask about the pick design before choosing a pack
Richsource is an oral care manufacturer that supplies orthodontic floss picks to dental clinics, retailers, and oral care brands. We also work with buyers on private-label packaging and bulk orders.
Send us a product inquiry for a close-up of the slim arm, the instructions for the specific model, or a sample to review. Tell us whether the picks are for patient handouts or retail shelves, along with your preferred pack size and estimated quantity. You can also ask about model availability in your market.
Questions about using picks with braces
Can I use this technique with every style of braces?
This approach is for fixed braces with a wire you can reach from the front of the teeth. If your braces sit behind your teeth or you have a different appliance, ask your orthodontist to show you a route that suits it.
Should the pick touch the wire as I floss?
You should be able to position and remove the pick without loading or moving the wire. Stop and withdraw the pick if you have to lever it against the appliance to reach the gap.
Can I use the handle tip to free a snagged strand?
Keep pointed tools away from the snag and stop pulling. If you cannot free the strand by easing it back along its path, call the orthodontic office for instructions.
Can a pick clean the area right next to a bracket?
It can reach between teeth if the arm fits around the wire. A toothbrush and, where recommended, a correctly sized interdental brush can reach other surfaces around the bracket.
What if the same gap hurts whenever I try to floss it?
Stop forcing the tool, note which gap hurts, and arrange a check with your dental team. Bring the pick or its packaging so they can see the head shape and the directions.